Tutorial: Creating Alert Rules and Using Alerts in VectraOps
VectraOps Alerts help you detect issues based on rule conditions (for example: availability, performance, or other monitored signals). Follow the steps below to create an Alert Rule and review alerts generated by the rule.
Before you start
- You have access to the customer tenant.
- The target systems have an active VectraOps agent installed and are reporting in.
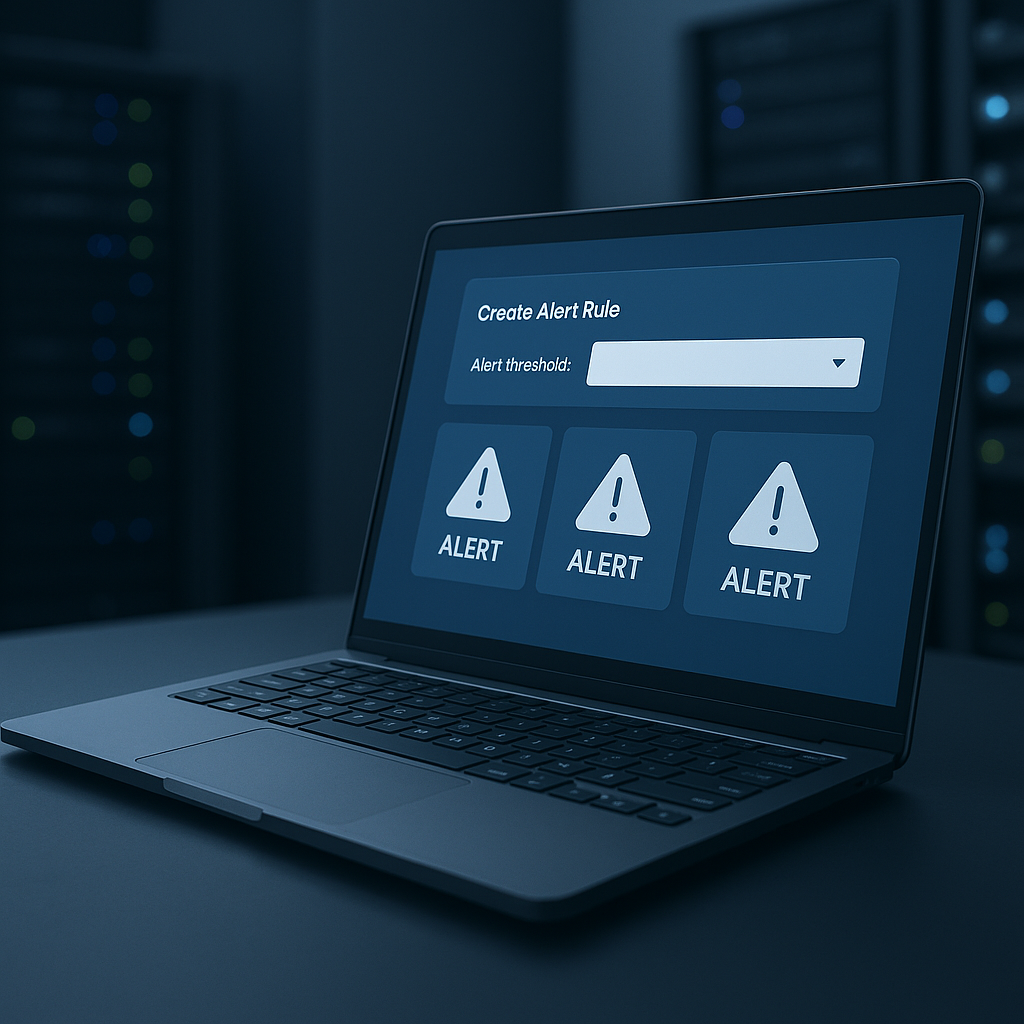
Step-by-step: Create a new Alert Rule
- Log in to the customer tenant.
- In the left sidebar, open Alerts.
- Click Manage Alert Rules.
- Click Create new alert rule (+).
- Configure the rule:
- Name — enter a clear, recognizable name for the rule.
- Rule type — choose the rule type you want to create.
- Window (minutes) — keep the default value unless your agent connects less frequently (for example, only once per hour). In that case, increase the window to match the agent reporting interval.
- Thresholds — enter threshold values for alert types where applicable.
- Description — add a short description explaining what the rule monitors and when it should trigger.
- Status — enable or disable the rule.
- Click Save Rule.
After saving: what happens next?
NOTE: After the rule is created, it will immediately evaluate whether any alerts should be generated based on current system data.
View and use Alerts
- Go back to Alerts in the sidebar.
- Review the generated alerts list.
- Open an alert to see details such as the affected system, the rule that triggered it, and any relevant values (for example, threshold vs. current value).
Recommended best practices
- Use descriptive rule names (example: “High CPU > 90% (10 min)”).
- Set the Window (minutes) to match how often systems report data.
- Start with conservative thresholds, then tune them to reduce false positives.
- Disable rules temporarily during maintenance windows if needed.