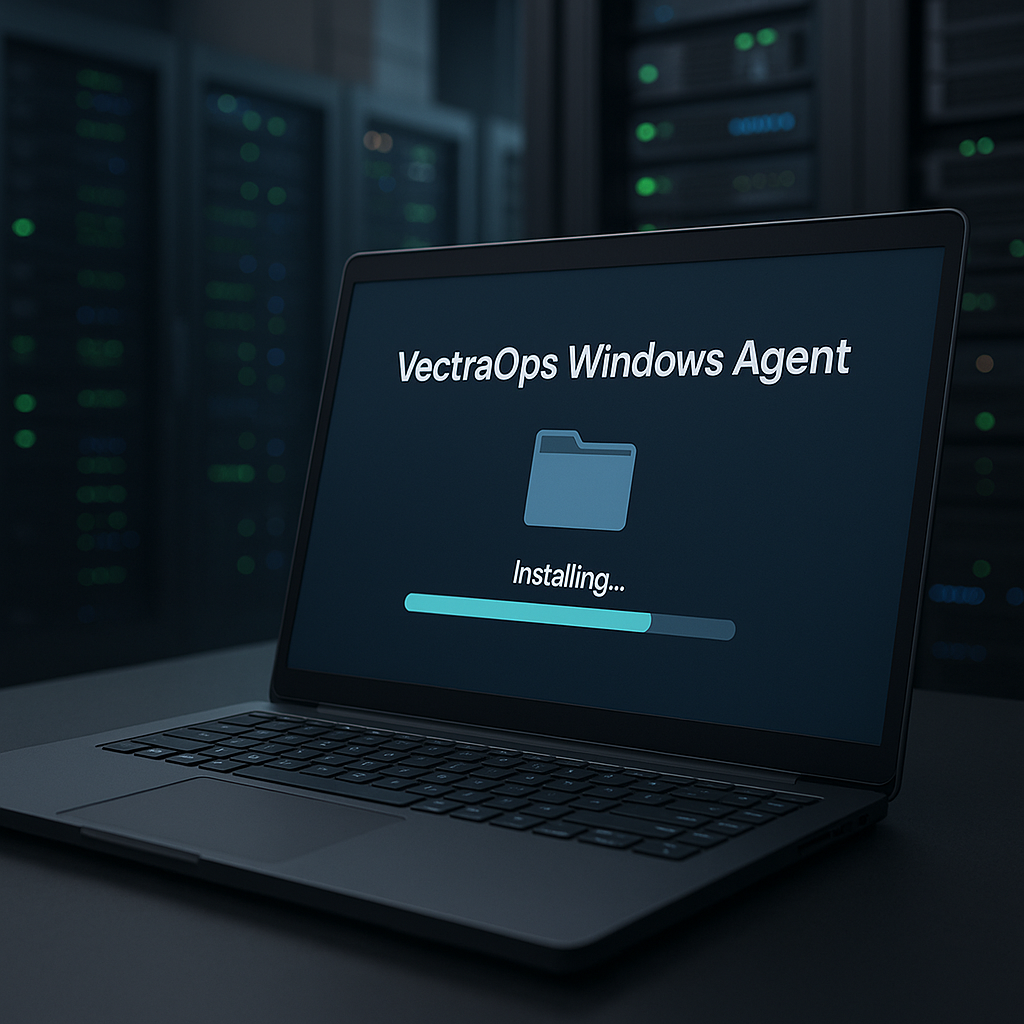
Installation: VectraOps Windows Agent (Windows)
Follow the steps below to download, copy, extract, and install the VectraOps Windows Agent on a target Windows system.
Prerequisites
- You have access to the VectraOps customer tenant.
- You have local administrator rights on the target Windows system.
- You can copy files to the target Windows system (file share, RDP copy, USB, etc.).
Step-by-step installation
- Log in to the VectraOps customer tenant.
- In the left sidebar, go to Systems.
- Click Download Agents and select Download Windows Agent.
- Copy the downloaded .zip file to the target Windows system.
- Extract (unzip) the file on the target system.
- Run the PowerShell installer script install_agent.ps1 with administrator rights.
- After the installation completes, the system will appear in the tenant under Systems.
Run the installer (PowerShell)
Open PowerShell as Administrator, browse to the extracted folder, and execute the script.
# Example: go to the extracted agent folder cd "C:\Temp\VectraOps-Windows-Agent\" # Run the installer script .\install_agent.ps1 Verification
- Return to the VectraOps tenant.
- Go to Systems.
- Confirm the target machine is listed.
Troubleshooting (quick checks)
- System not showing up? Wait a few minutes and refresh the page.
- Script fails to run? Ensure you started PowerShell with Run as administrator.
- Execution policy blocks the script? Run PowerShell as Administrator and try:
# Optional: allow running local scripts for this session Set-ExecutionPolicy -ExecutionPolicy Bypass -Scope Process